Ever wonder where is data validation in excel? You’ll find it right on the Data tab. When you use data validation in excel, you control exactly what goes into your cells. This tool helps you avoid mistakes and keeps your information reliable. Take a look at how data validation in excel supports business accuracy:
| Validation Technique | Description |
|---|---|
| Cross-Field Consistency | Keeps related fields in sync, like matching states and zip codes |
| User-Friendly Error Handling | Gives clear messages so you can fix mistakes quickly |
With data validation, you make your spreadsheets smarter and cleaner.
Where is Data Validation in Excel
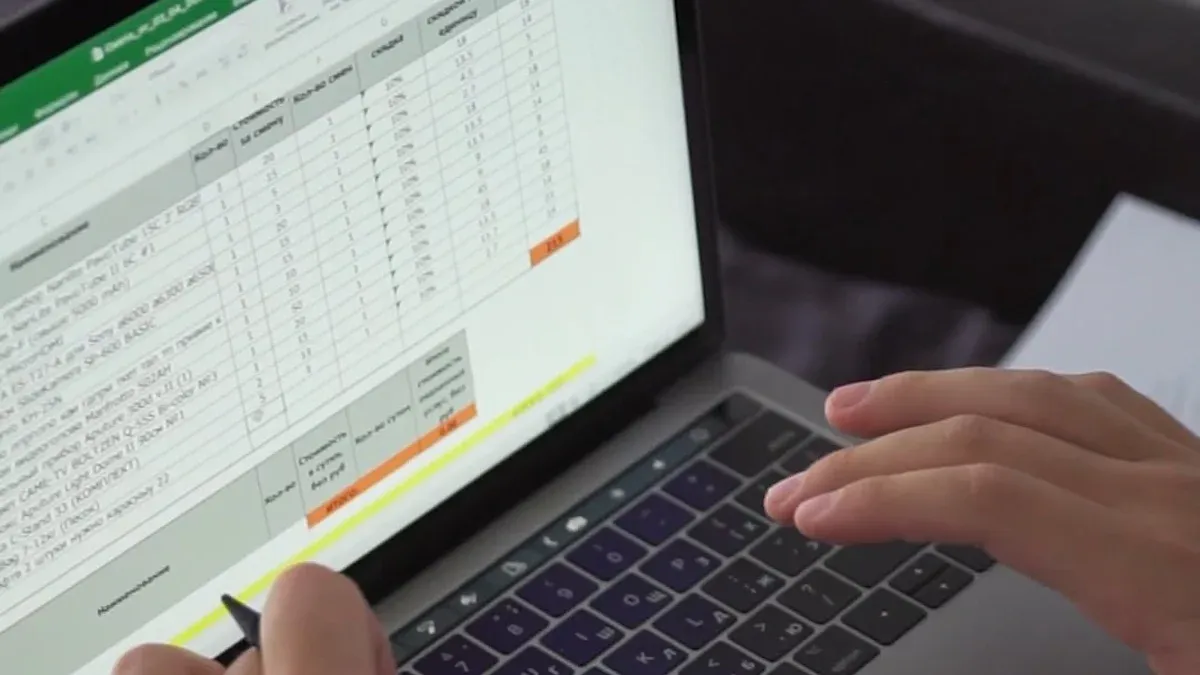
You might wonder, where is data validation in excel? If you want to control what people can type into your spreadsheet, you need to know exactly where to find this feature. Let’s walk through the steps so you can start using data validation in excel like a pro.
Accessing Data Validation from the Data Tab
You can find data validation in excel right on the Data tab. Here’s how you get started:
- Select the cells where you want to restrict data entry.
- Go to the Data tab at the top of your Excel window.
- Click on Data Validation in the Data Tools group.
- In the box that appears, choose the type of data you want to allow. You can set rules for numbers, dates, lists, or even custom formulas.
Tip: If you want to make sure only numbers between 1 and 100 go into a cell, you can set that up in just a few clicks!
This process answers the question, where is data validation in excel, and helps you set up rules that keep your data clean and accurate.
Locating Existing Data Validation Rules
Sometimes, you need to check which cells already have data validation in excel. You don’t have to hunt through every cell one by one. Excel gives you a few handy tools:
- Use the Find & Select feature under the Home tab. This lets you highlight all cells with data validation in the current worksheet.
- If you want to find cells with the same type of data validation, select a cell with the rule you want, then use Find & Select > Go To Special. Check the Data validation and Same options, then hit OK.
Note: These shortcuts save you time and help you spot any mistakes or missing rules fast.
Using Go To Special to Find Data Validation
The Go To Special tool is a real time-saver. Here’s how you use it to find data validation in excel:
- Select any cell in your worksheet.
- Go to the Home tab and click Find & Select.
- Choose Go To Special from the dropdown.
- In the dialog box, select Data Validation. You can pick either "All" to see every cell with data validation, or "Same" to find cells with the same rule as your selected cell.
This method helps you quickly review your spreadsheet and make sure your data validation rules are in place. You can fix errors before they cause problems.
Pro Tip: Use Go To Special before sharing your file. You’ll catch any missing or incorrect rules and keep your data entry process smooth.
Checking Data Validation with Name Manager
You might not think of the Name Manager when you want to check data validation in Excel, but it can be a secret weapon. Name Manager helps you keep track of all the named ranges in your workbook. Sometimes, you set up data validation rules that use named ranges for lists or formulas. If you ever wonder where those lists come from or want to update them, Name Manager is the place to look.
Here’s how you can use Name Manager to check on your data validation setup:
- Click the Formulas tab at the top of Excel.
- Choose Name Manager from the Defined Names group.
- A window pops up showing all the named ranges in your workbook.
- Look for names that sound like they belong to your data validation lists, such as "ProductList" or "ValidStates".
- Select a name to see what cells it covers or what formula it uses.
Tip: If you use a named range in your data validation list, you can update the range here. Any changes you make will update every cell that uses that validation rule.
Let’s say you have a drop-down list for departments in your company. You set up a named range called "Departments" and use it in your data validation rule. If your company adds a new department, just update the "Departments" range in Name Manager. Instantly, your drop-down list includes the new option—no need to hunt through every cell.
Here’s a quick table to show what you can do with Name Manager:
| Task | What You Gain |
|---|---|
| Find named ranges | See all lists and formulas used in validation |
| Edit named ranges | Update drop-down options in one place |
| Delete unused names | Clean up your workbook for better performance |
You might ask, where is data validation in excel when you use named ranges? The answer: it’s connected through Name Manager. This tool gives you a bird’s-eye view of your data validation setup, especially when you use lists or custom formulas. You can spot errors, update lists, and keep your data entry process smooth.
Note: If you ever get stuck with a broken drop-down or a missing list, check Name Manager first. It often holds the key to fixing your data validation problems.
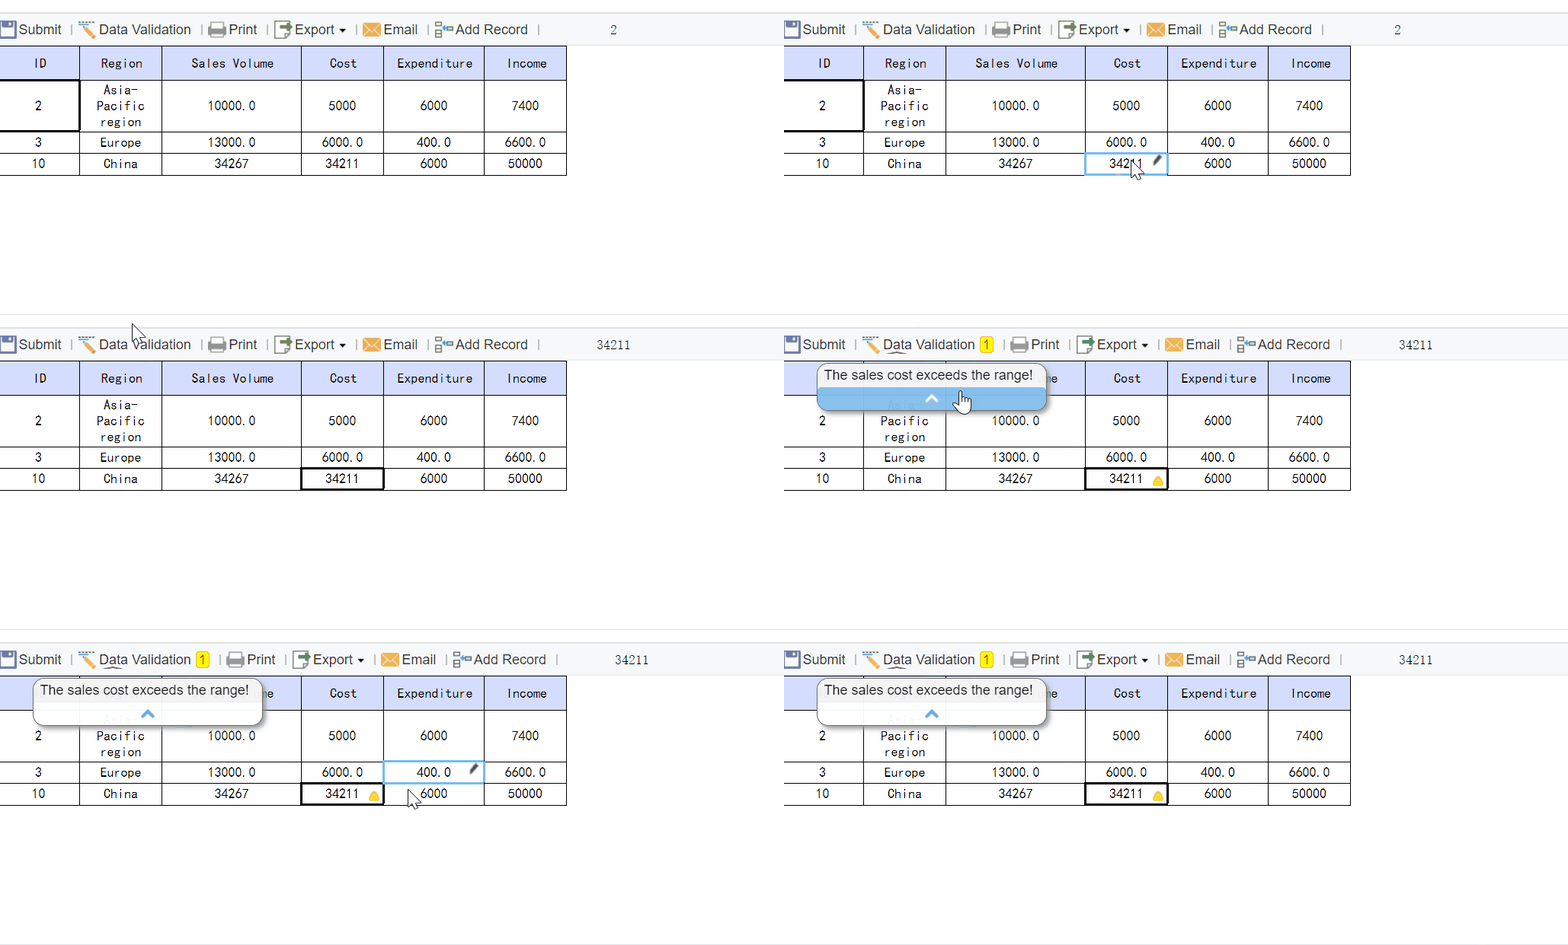
Setting Up Data Validation in Excel Regarding Where is Data Validation in Excel
Setting up data validation in Excel gives you the power to control what goes into your spreadsheet. You can guide users, prevent mistakes, and keep your data consistent. Let’s walk through some practical ways to use data validation in excel for accurate entry.
Creating Drop-Down Lists with Data Validation
Drop-down lists are one of the most popular data validation examples. They make data entry fast and error-free. Instead of typing, you pick from a list. This method helps you avoid spelling mistakes and keeps your entries consistent.
Here’s how you create a drop-down list using data validation in excel:
- Type your list items on a separate sheet. For example, enter department names in Sheet2, cells A1 to A3.
- Go to the cell where you want the drop-down, like B1 on Sheet1.
- On the Data tab, click Data Validation.
- In the Allow box, choose List.
- In the Source box, select the range with your list items (A1:A3 on Sheet2).
- Click OK.
When you use a drop-down, you make data entry easier for everyone. You also keep your data clean by limiting choices to your data validation list.
Drop-down lists do more than just speed up entry. They help maintain data integrity and reduce input errors. You can control what users select, which means fewer mistakes and better reports. If you want to add data validation for multiple cells, just repeat these steps for each area.
Here are some benefits of using a data validation list:
- Users select from predefined options, so you avoid typos.
- Data entry becomes faster and more efficient.
- You keep your spreadsheet organized and consistent.
Restricting Numbers and Dates
Sometimes you need to make sure users enter only numbers or dates. Data validation in excel lets you set rules for this. You can restrict entries to whole numbers, decimals, or specific date ranges.
Follow these steps to set up number or date restrictions:
- Select the cell where you want to control data entry.
- Click the Data Validation button on the Data tab.
- In the dialog box, go to the Settings tab.
- In the Allow drop-down, pick Whole Number, Decimal, or Date.
- Set your criteria, like minimum and maximum values or start and end dates.
For example, if you’re building a Vacation Request Form, you can use data validation to make sure users enter a valid date. Choose Date from the Allow box, then set the start and end dates for the year.
You can also add input messages and error alerts. Input messages pop up when someone selects a cell, guiding them on what to enter. Error alerts show up if someone tries to enter something invalid. Custom error messages explain why the entry is wrong and how to fix it. This feature helps users understand your data validation rule and reduces mistakes.
Here’s a quick look at what you can do with data validation settings:
- Restrict entries to whole numbers, decimals, or dates.
- Guide users with input messages.
- Show error alerts when invalid data is entered.
Using Custom Formulas for Data Validation
Custom formulas take data validation in excel to the next level. You can set up rules that go beyond simple lists or number ranges. These formulas let you check for patterns, combine criteria, or validate entries against other data.
Check out these data validation examples using custom formulas:
| Example Description | Custom Formula |
|---|---|
| Validating Email Addresses | =AND(ISNUMBER(SEARCH("@",A1)),ISNUMBER(SEARCH(".",A1))) |
| Combining Multiple Criteria | =OR(AND(A1>=10, A1<=100), A1=200) |
| Validating Client Names from Database | =COUNTIF(Sheet1!B:B,B2,Clients!A:A,A2)>0 |
| Custom Multiple Criteria for Status | =OR(A2="Inactive", AND(A2>=10000000, A2<=99999999)) |
Custom formulas help you enforce complex rules. You can make sure email addresses contain "@" and ".", or allow only certain numbers and statuses. These formulas must return TRUE or FALSE for the validation to work.
When you use custom formulas, you might face some challenges. Here’s a table showing common issues:
| Challenge Description | Details |
|---|---|
| Issues with cell references | Relative and absolute references can be tricky. |
| Logical value requirement | Formulas must return TRUE/FALSE or 1/0. |
| Limitations on existing data | Only new entries are checked unless you reapply. |
| Handling of blank cells | 'Ignore blank' may let any value through. |
Tip: Always test your custom formulas before applying them to important data. This way, you catch errors early and keep your spreadsheet reliable.
Custom formulas give you flexibility. You can create a data validation rule for almost any scenario. If you want to use data validation for advanced checks, formulas are your best friend.
Adding Input Messages and Error Alerts
When you set up a data validation list in Excel, you can make things even easier for users by adding input messages and error alerts. These features guide people as they enter data and help them fix mistakes right away. You don’t have to leave users guessing about what to type or why their entry doesn’t work.
Input messages pop up as soon as someone clicks a cell with a data validation list. You can use these messages to give clear instructions. For example, you might say, “Please select a department from the drop-down list.” This simple step helps everyone understand what’s expected.
Here’s how you add an input message:
- Select the cell or range where you want to add data validation.
- Open the Data tab and click Data Validation.
- In the Data Validation dialog, go to the Input Message tab.
- Check the box for “Show input message when cell is selected.”
- Type a title and message. Keep it short and helpful.
- Click OK.
Tip: Use input messages to remind users about special rules, like “Enter a date between 1/1/2024 and 12/31/2024.”
Error alerts show up when someone tries to enter something that doesn’t match your data validation list or rules. Instead of letting bad data slip through, Excel stops the entry and shows your custom message. You can choose from three alert styles: Stop, Warning, or Information.
- Stop: Blocks the entry until the user fixes it.
- Warning: Warns the user but lets them keep the entry if they want.
- Information: Informs the user but allows any entry.
To set up an error alert, follow these steps:
- Select the cell or range with your data validation list.
- Go back to the Data Validation dialog.
- Click the Error Alert tab.
- Make sure “Show error alert after invalid data is entered” is checked.
- Pick your alert style.
- Add a title and a clear message, like “Please choose a value from the list.”
- Click OK.
Note: Custom error alerts help users understand what went wrong. You can explain the rule, such as “Only numbers between 1 and 100 are allowed.”
Here’s a quick table to compare input messages and error alerts:
| Feature | When It Appears | What It Does |
|---|---|---|
| Input Message | When cell is selected | Gives instructions before entry |
| Error Alert | After invalid data is entered | Explains mistakes and how to fix them |
When you use both input messages and error alerts, you make your spreadsheet much more user-friendly. People know exactly what to do, and they get instant feedback if they make a mistake. This keeps your data validation list working smoothly and your data accurate.
You can always go back and change your data validation settings if your rules or instructions need an update. Just open the Data Validation dialog again and adjust your messages. If you add data validation to new cells, remember to include helpful messages and alerts there, too.
Pro Tip: If you manage a big spreadsheet with several data validation lists, use clear and specific messages for each one. This reduces confusion and helps everyone enter the right information the first time.
Using Conditional Formatting with Data Validation For Where is Data Validation in Excel
Highlighting Invalid Entries
You want your data to stand out when something goes wrong, right? That’s where conditional formatting comes in. When you pair it with data validation, you get a powerful way to spot mistakes fast. Imagine you have a list of numbers, but someone enters text by accident. With conditional formatting, you can make that cell turn bright red. It’s like your spreadsheet is waving a flag at you.
- Conditional formatting visually indicates errors in data entry, making it easier to spot invalid entries.
- Highlighting invalid entries helps you quickly identify and correct mistakes, so your data stays accurate.
- This method acts as a proactive measure. It stops bad data from spreading and keeps your whole dataset clean.
Let’s say you set up a drop-down list for departments. If someone tries to type in a department that isn’t on the list, conditional formatting can highlight that cell. You see the problem right away and fix it before it causes trouble. This approach works well for all sorts of data validation examples, from numbers to dates to custom rules.
Combining Data Validation and Formatting for Feedback
You can take things a step further by combining data validation with smart formatting. This combo gives you instant feedback as you work. Here’s how you can do it:
- Set up data validation for your input cells, like using a drop-down list for department selection.
- Use formula-based conditional formatting to highlight cells based on what users enter.
For example, you might create a budget report. Users pick a department from a drop-down. Conditional formatting then highlights overspent categories in red and underspent ones in green. You see the story behind your numbers at a glance.
This combo is powerful for what-if analyses and scenario planning. It lets you quickly visualize the impact of different inputs on your financial models.
You can also link your data validation to external sources. Tools like FanRuan’s FineDataLink help you sync your data in real time. Your spreadsheet always shows the latest information, which means you get immediate feedback and fewer surprises.
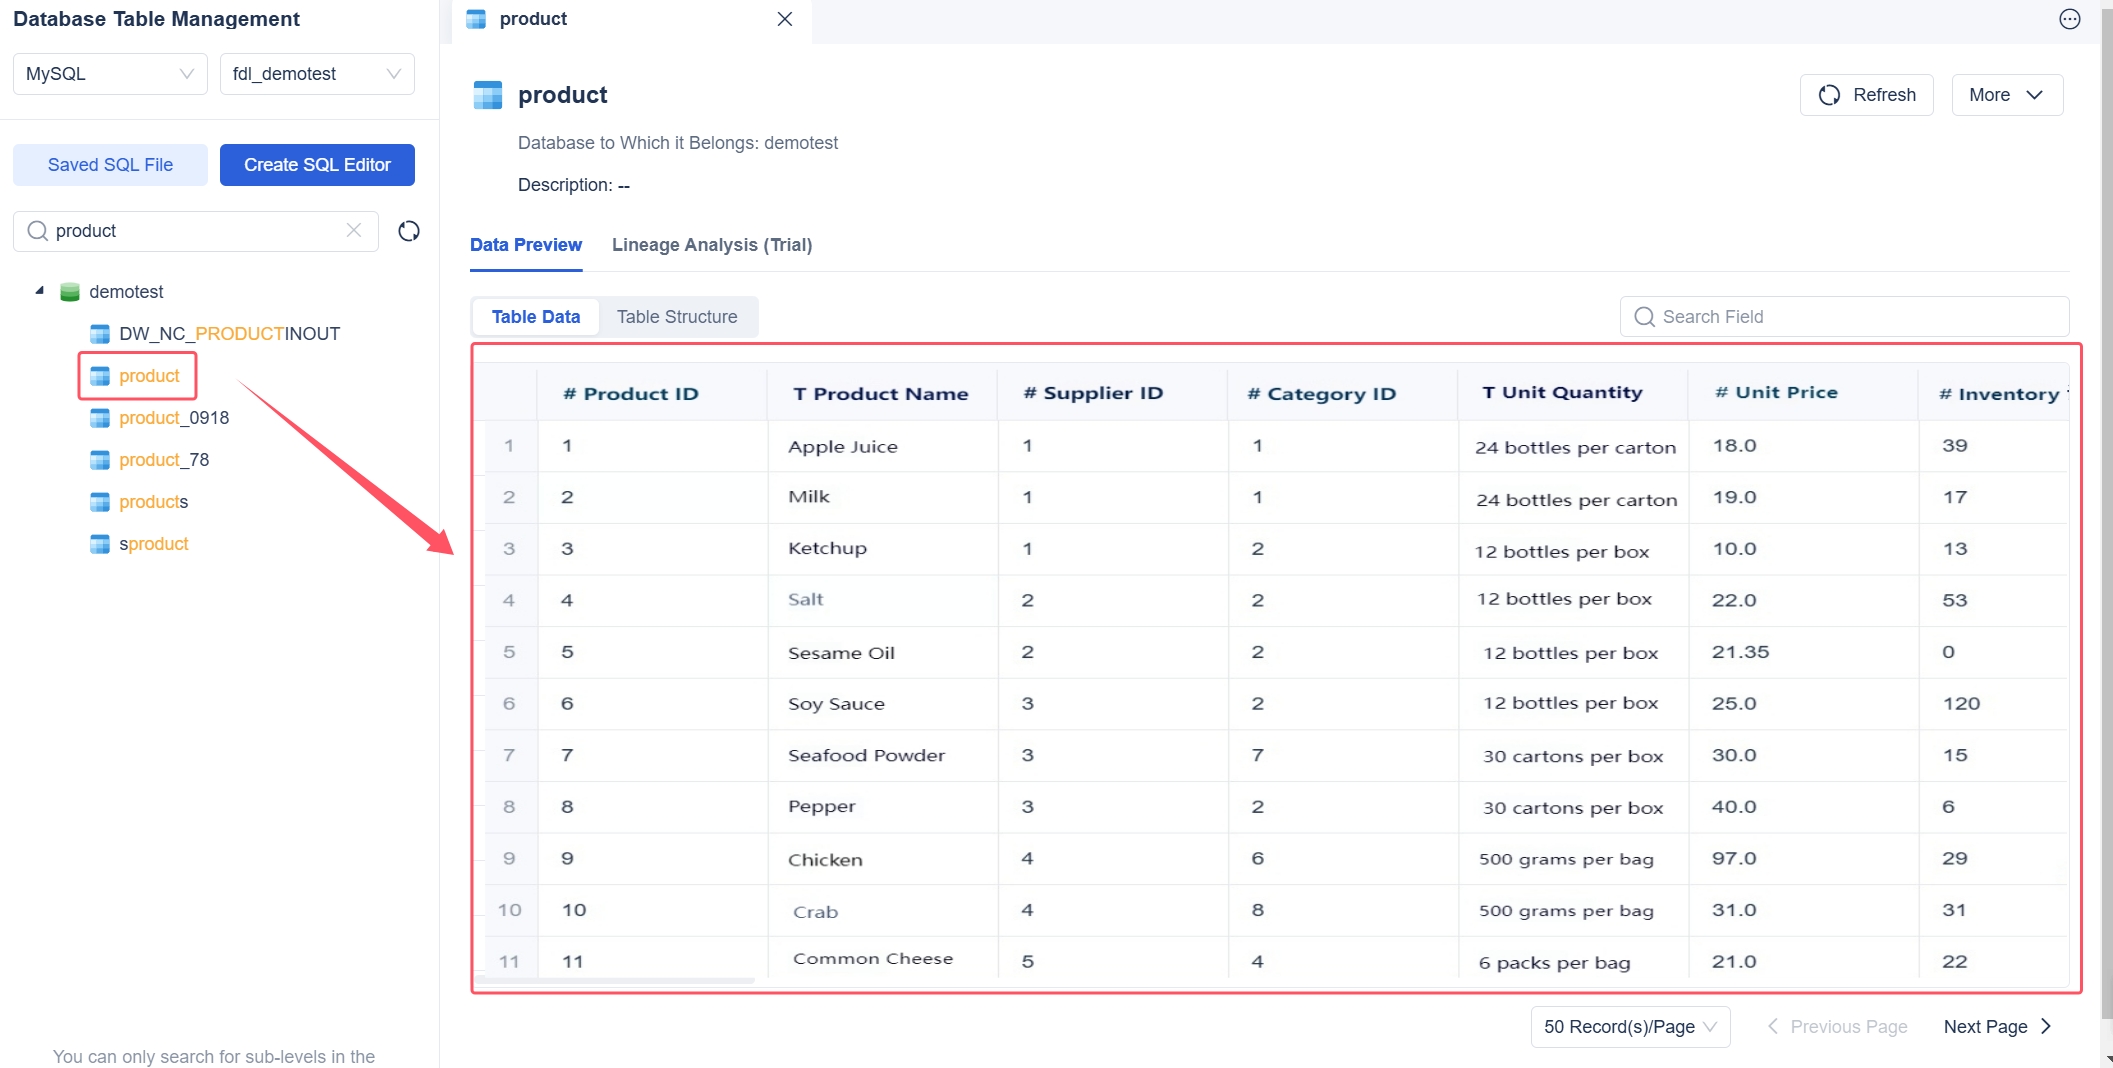
Troubleshooting and How to Remove Data Validation in Where is Data Validation in Excel
Common Data Validation Issues and Solutions
Sometimes, you set up a data validation rule, but things don’t work as planned. Maybe your drop-down list disappears, or users can still enter the wrong data. Don’t worry—these problems are common, and you can fix them.
Here’s a quick table showing the most frequent data validation checks and what they do:
| Data Validation Check | Description |
|---|---|
| Data type only | Accepts only numbers or letters as valid entries |
| Code check | Lets you pick from a drop-down list of set items |
| Range check | Allows only numbers within a specific range |
| Format check | Makes sure data matches a certain format |
| Uniqueness check | Stops duplicate values in a field |
| Consistency checks | Keeps your data entry steps in logical order |
You might also run into issues when entering percentages. Excel sometimes gets picky about how you type them, which can cause confusion.
If you notice your data validation rule isn’t working, try these steps:
- Check if any objects are hidden. Go to File > Options > Advanced and make sure "All" is selected under "For objects, show:".
- Double-check your data validation settings. Make sure you picked "List" and checked the "In-cell dropdown" box.
- If the rule still fails, remove data validation and set it up again from scratch.
- If you use Freeze Panes, scroll back to the left. Sometimes, the drop-down arrow hides behind frozen columns.
- If nothing works, restore your file from a backup or try recreating the rule in a new worksheet.
Tip: Always test your rules with sample data before sharing your spreadsheet.
How to Edit or Remove Data Validation Rules
Need to change or remove data validation? You can do this in just a few clicks without messing up your other cell settings. Here’s how you edit or remove data validation from your cells:
- Select the cell or range where you want to remove data validation.
- Go to the Data tab and click Data Validation.
- In the dialog box, you can adjust your settings to edit the data validation rule. If you want to remove data validation completely, click Clear All.
- Hit OK to apply your changes.
You can repeat these steps for any area in your worksheet. If you want to remove data validation from several places at once, select all those cells first. This method keeps your formatting and formulas safe while you clean up your rules.
Note: Removing data validation does not delete your data. It just takes away the restrictions, so users can enter anything in those cells.
If you ever need to add a new data validation rule, just follow the same steps and set up your criteria again. You stay in control of your data entry process, making your spreadsheets more reliable.
Data Validation Beyond Excel: FineReport for Accurate Data Entry For Where is Data Validation in Excel

What is FineReport and Its Data Validation Features
You might use Excel for data validation every day, but sometimes you need more control and reliability. FineReport steps in when your business grows and your data entry needs become more complex. You get a powerful reporting tool that feels familiar, like a spreadsheet, but offers advanced features for accurate data entry.
FineReport lets you build structured templates for data collection. You can connect directly to databases, automate data handling, and set up validation rules that keep your information clean. You don’t have to worry about manual errors or missing entries. With FineReport, you can create a source list for drop-down menus, just like in Excel, but with more flexibility. You can also set up custom validation rules and error alerts, making sure every entry meets your standards.
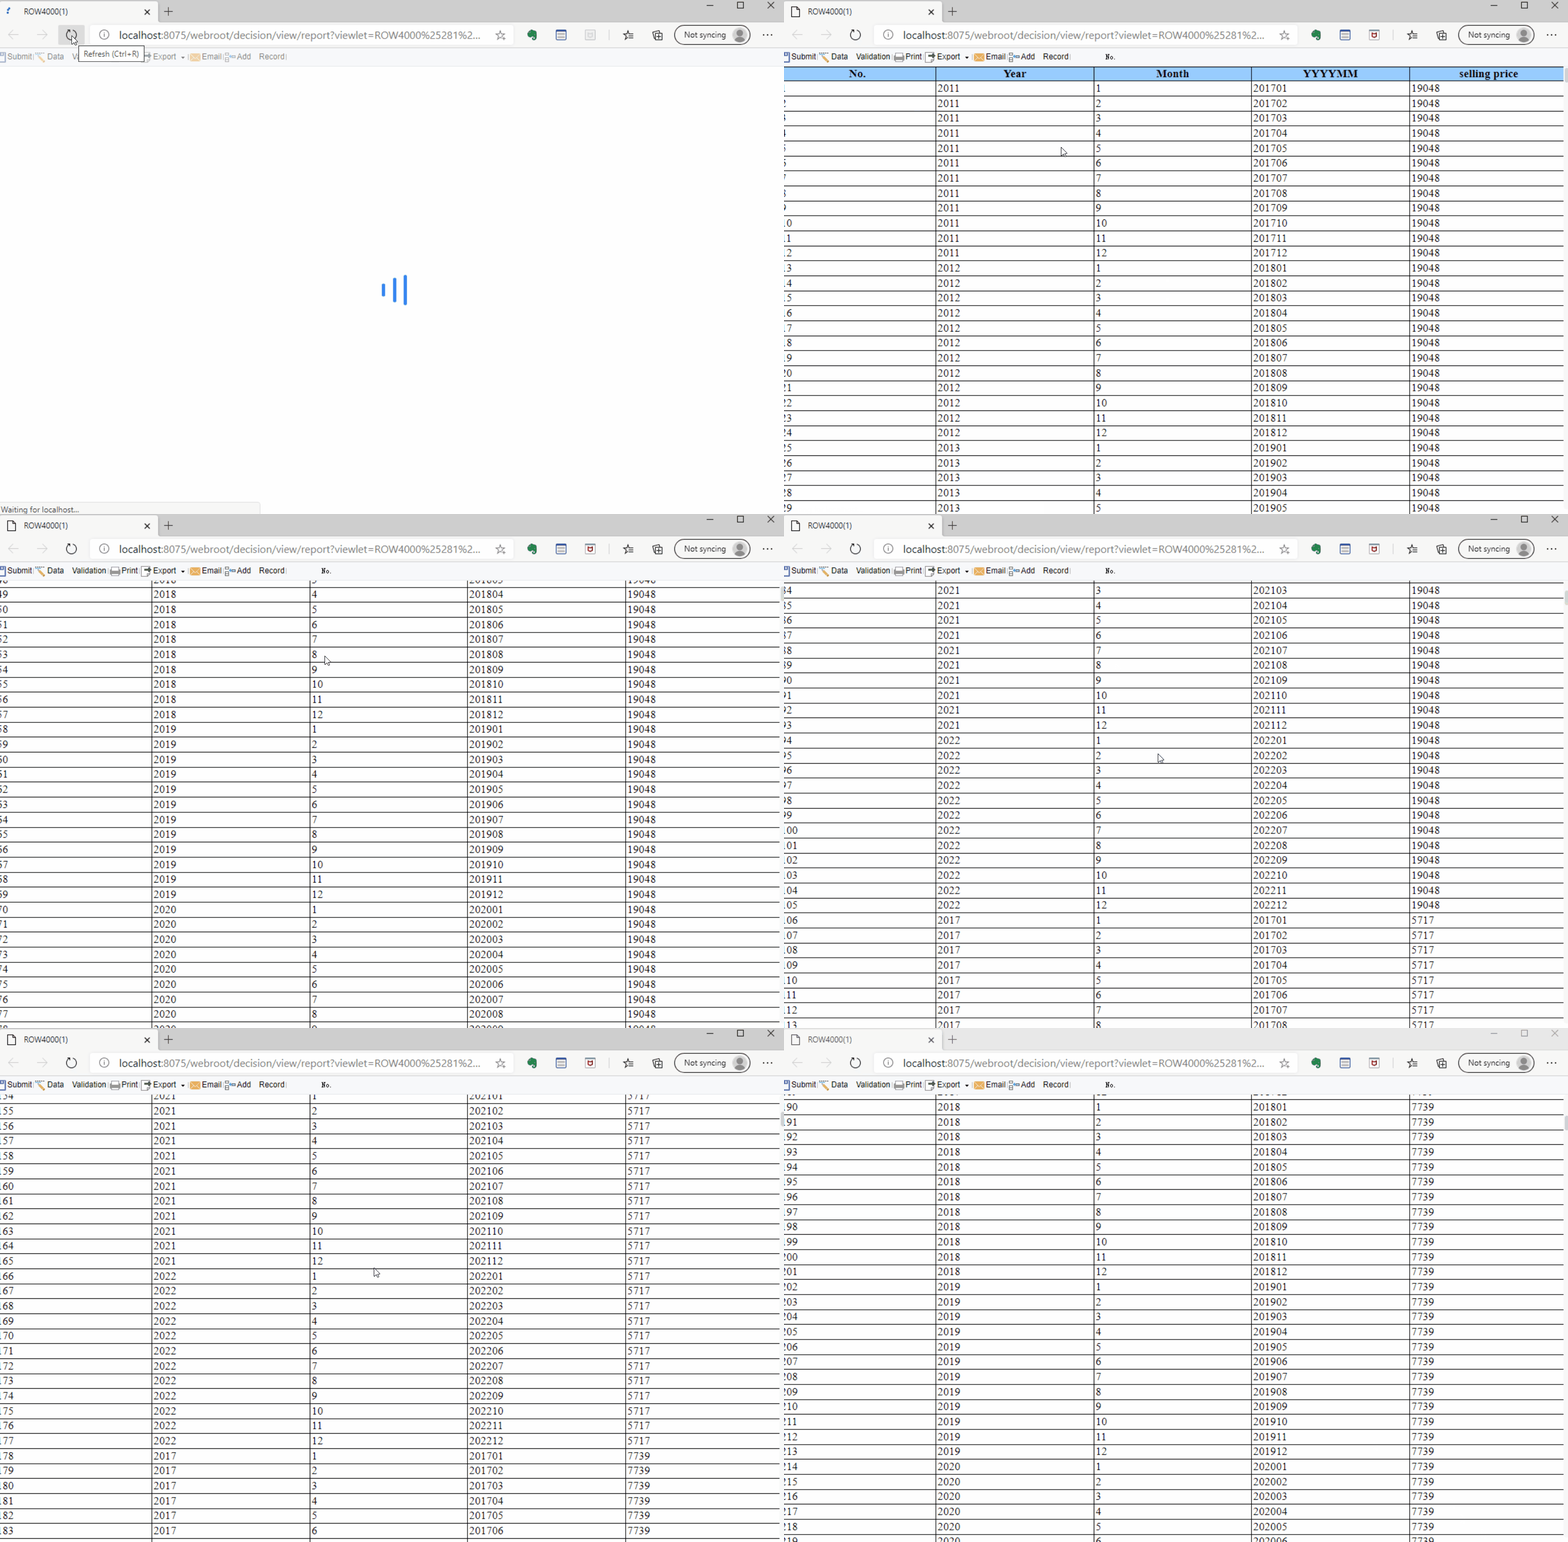
FineReport Data Entry Forms for Reliable Data Collection
If you’ve ever struggled with chaotic spreadsheets, you’ll appreciate how FineReport organizes data entry. You design templates that guide users through each step. Data goes straight into your database, so you avoid mistakes and keep everything up to date.
Take a look at how FineReport compares to Excel for reliable data collection:
| Feature | FineReport | Excel |
|---|---|---|
| Data Collection Approach | Structured and efficient templates | Chaotic and error-prone |
| Database Connection | Direct connections for reliability | Manual data entry prone to errors |
| Data Handling | Automated processes to reduce errors | Manual handling increases risk |
| Collaboration Efficiency | Designed for commercial use | Lacks efficiency in office collaboration |
You get several advantages with FineReport:
- You create templates that users fill out and submit easily.
- Data is reviewed and entered into a database, so you know it’s accurate.
- The process is straightforward, which means fewer errors and less data loss compared to Excel.
FineReport helps you collect data from multiple sources and keeps your source list organized. You can manage customer records, employee onboarding, and even import Excel forms for a smooth transition.

FineReport Quality Control Solution for Manufacturing
Manufacturers need to track quality at every stage. FineReport offers a quality control solution that helps you monitor product qualification rates, defect rates, and scrap rates in real time. You build dashboards that show trends and highlight issues, so you can act fast.
You can customize charts and tables to visualize defect causes and scrap rates. FineReport connects to your production data, giving you instant feedback and helping you find root causes. You improve efficiency and maintain high standards with less effort.
If you work in manufacturing, FineReport’s quality control tools make it easier to spot problems and optimize your process. You get clear visualizations and actionable insights, so your team can focus on making better products.
You now know where is data validation in excel and why it matters. When you use data validation in excel, you cut down on mistakes and get instant feedback as you type.
- You guide users through entry, which keeps your data accurate.
- You control what goes into each cell, so your records stay clean and reliable.
- If you ever need to remove data validation, you can do it quickly and keep your workflow smooth.
Data validation in excel helps you trust your numbers. If you want more advanced options, FineReport gives you even more ways to manage and remove data validation for better accuracy.
Continue Reading About Where is Data Validation in Excel
What Is a Quarterly Report and Why Investors Should Care
How to Use Inventory Report for Better Business Decisions
How to Build a Service Report Template for Your Business
What Is a Research Report and Why Does It Matter
What Is an Interview Report and Why Does It Matter
FAQ

The Author
Lewis
Senior Data Analyst at FanRuan
Related Articles

What is integrated reporting and why is it important
Integrated reporting combines financial and non-financial data, offering a full view of value creation, transparency, and stakeholder trust.
Lewis
Dec 12, 2025

What Is a Weekly Sales Report and Why Does It Matter
A weekly sales report tracks sales data, highlights trends, and guides decisions. See key components and benefits of weekly sales reports for your team.
Lewis
Dec 11, 2025

Top 9 Best Reporting Tools for ASP.NET Developers
Compare the top 9 best reporting tool for asp net projects in 2026. Find features, integration, and export options for ASP.NET and ASP.NET Core apps.
Lewis
Dec 10, 2025


